
An M.2 SSD is a type of solid-state drive that utilizes the M.2 interface connection. This interface is a compact module that inserts into an M.2 slot on the computer’s motherboard. In this blog you will know how to install M.2 SSD in your PC correctly.
The M.2 SSDs have benefits over traditional SATA SSDs, like much faster speeds as they can use the high-speed PCIe interface. M.2 drives are capable of read/write speeds 5x faster than a SATA SSD. M.2 SSDs are also more compact and don’t require extra cables like a SATA drive.
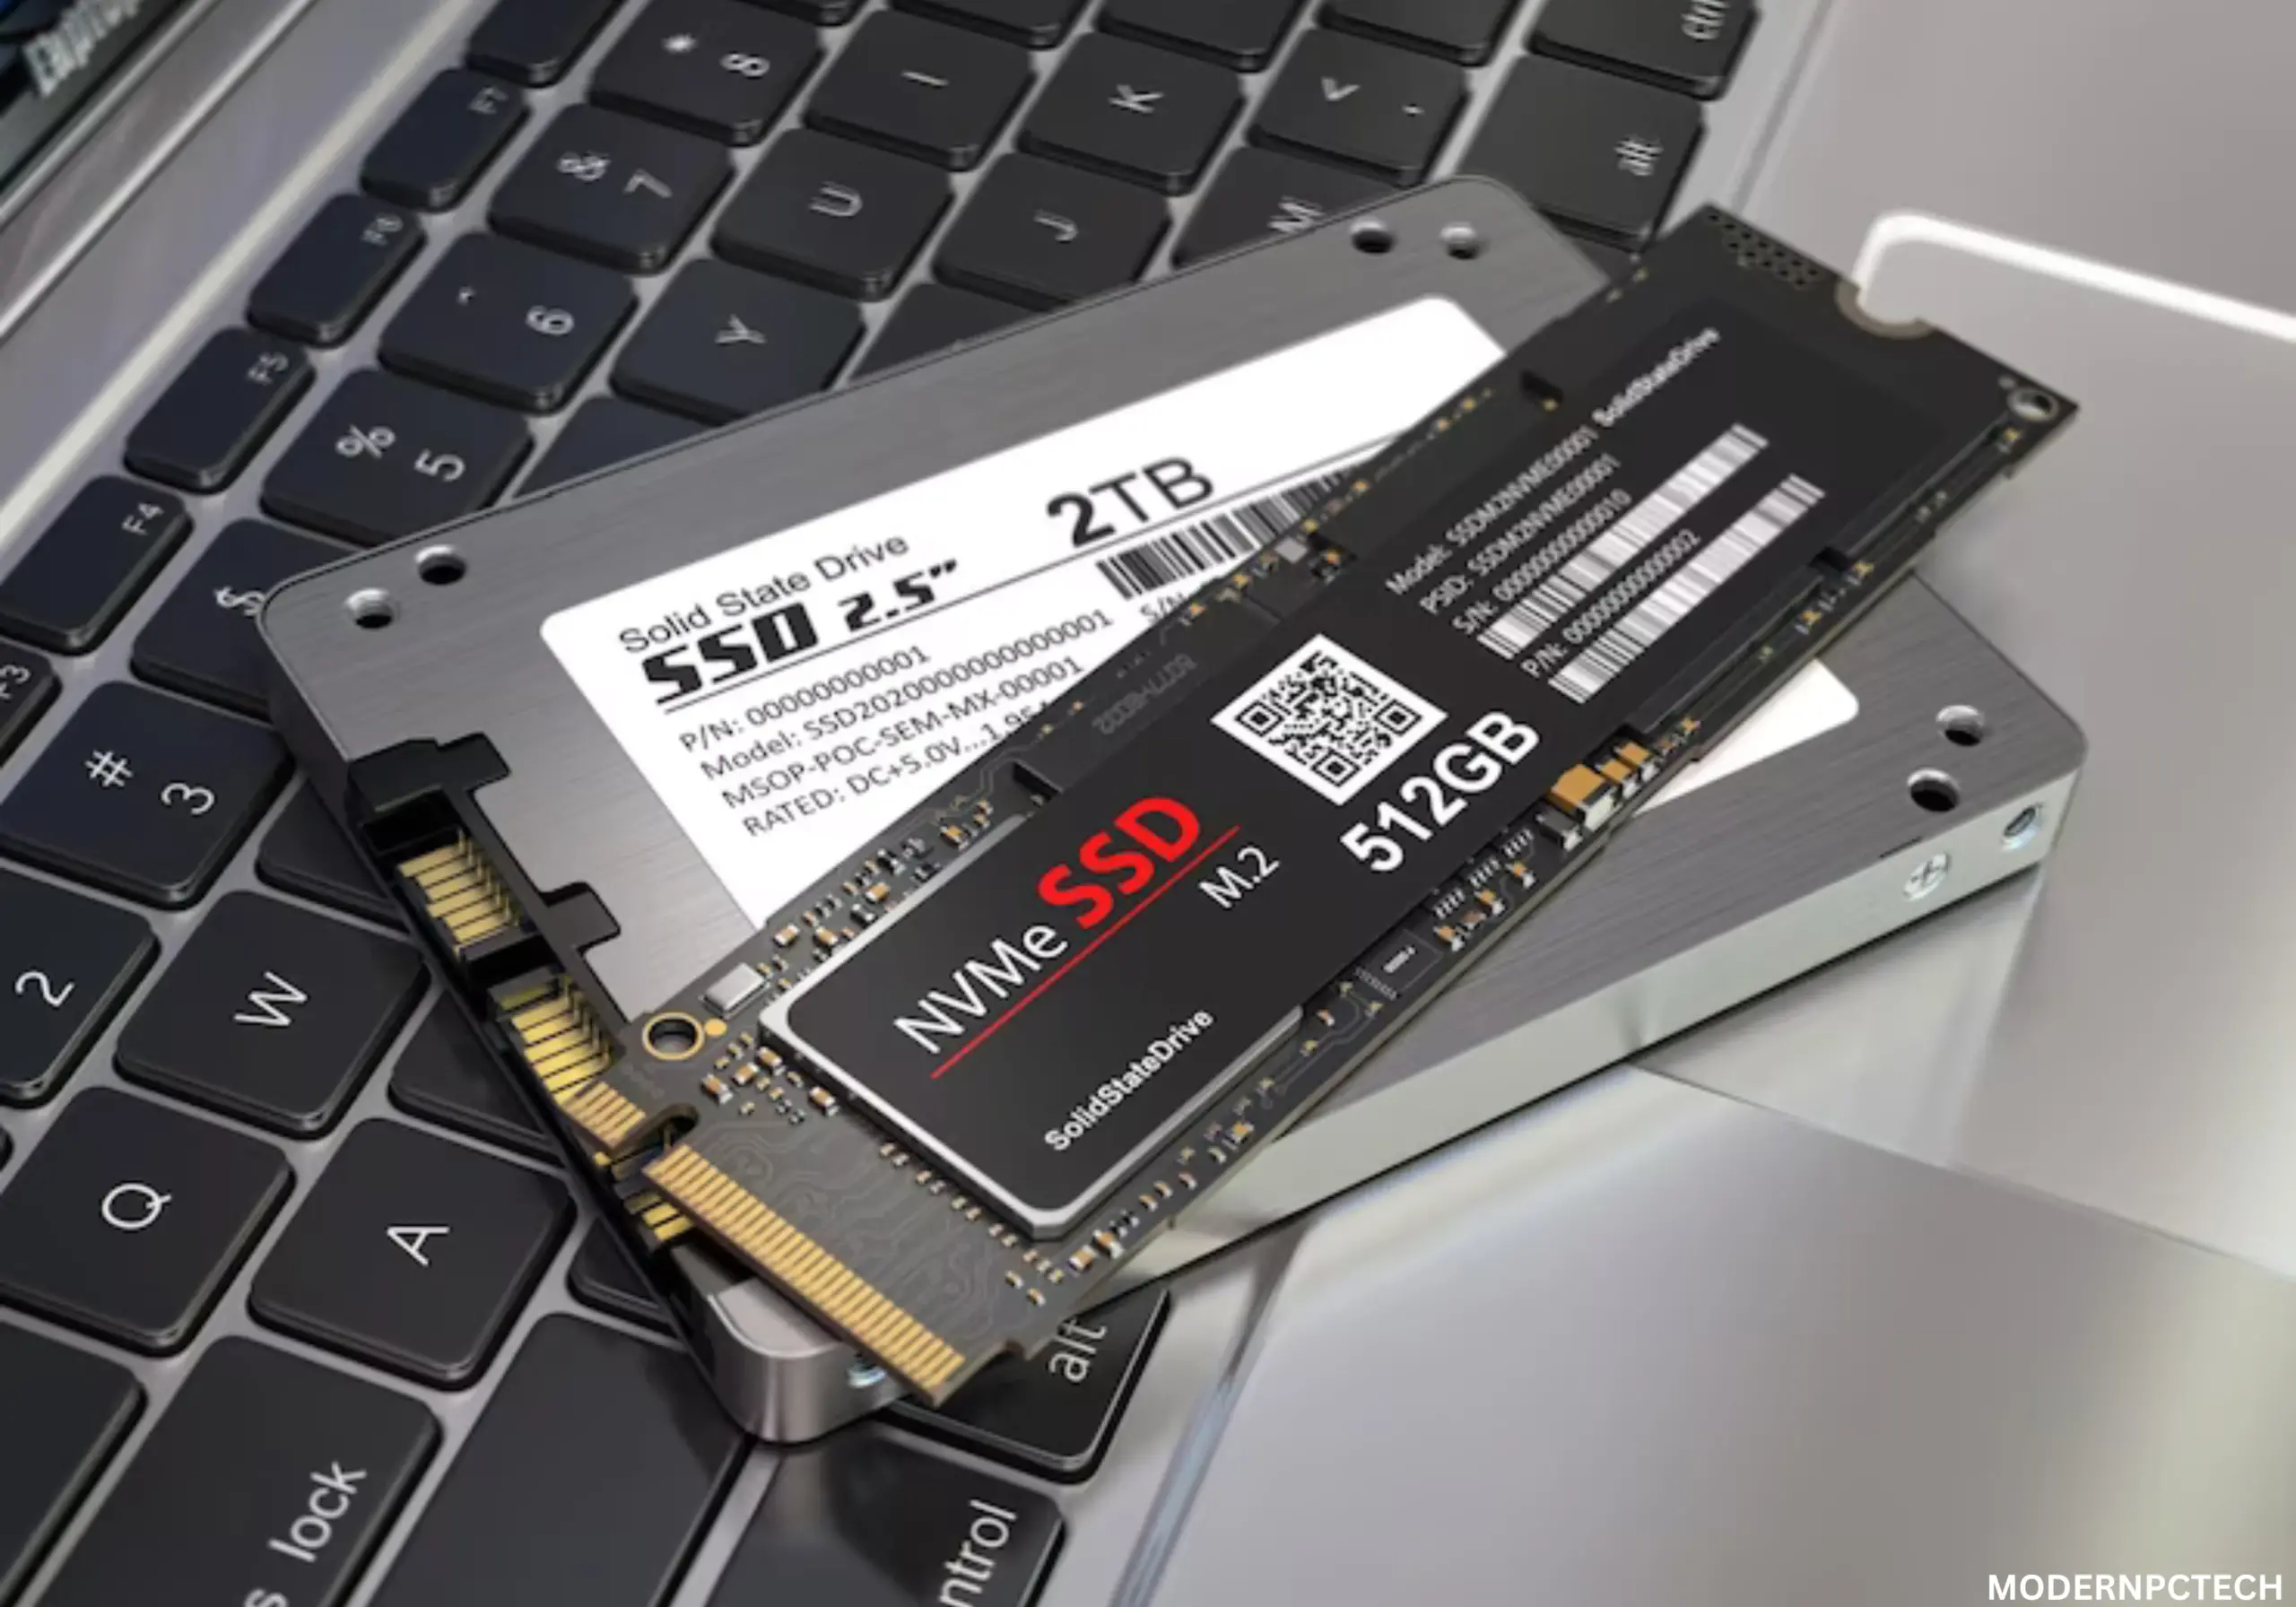
To install an M.2 SSD, you’ll require the drive itself, available in form factors like 2230, 2242, or 2280. Additionally, you’ll need a Phillips screwdriver to remove any screws securing access to the M.2 slot on your motherboard.
1. Check Motherboard Compatibility
M.2 slot types:
There are different types of M.2 slots on motherboards that support varying specifications:
- NGFF (Next Generation Form Factor) supports both SATA and PCIe lanes
- PCIe slots support only PCIe SSDs and offer the fastest speeds
- SATA slots can only support SATA-based M.2 SSDs and have speeds similar to 2.5-inch SATA drives
Supported Form Factors:
M.2 drives come in different rectangular form factors depending on size:
- 2230 is the smallest at 22x30mm
- 2242 is 22x42mm
- 2260 is 22x60mm
- 2280 is 22x80mm and supports both PCIe and SATA
It’s important to check your motherboard manual or manufacturer’s website to determine which specific M.2 slot(s) it has and which form factors it can accommodate. This will ensure your chosen M.2 SSD is compatible before purchasing.
Some motherboards may support only 2280 drives or PCIe interfaces for optimum performance. Taking these compatibility factors into account leads to an efficient installation and avoids potential issues.
2. Prepare for Installation
Gather SSD, Screwdriver, Thermal Pads (If Needed)
Before beginning the physical installation, be sure to gather the necessary materials. The first item is of course the M.2 SSD itself. You’ll also need a Phillips head screwdriver, as some motherboards require a screw to secure the SSD in place.
Check if your drive came with thermal pads as well, as these will help draw heat away from the SSD module. Placing these pads between the SSD and the cooling solution is recommended.
Back Up Data and Close Programs:
Proper preparation also involves ensuring your data is backed up and safe. It’s recommended to back up your important files, documents, photos, and other data to an external drive or cloud service. You’ll also want to close any programs you have open, including your browser with any open tabs.
This avoids potential data loss issues or program errors during the installation and configuration process. A clean restart after backing up lets you focus on installing the new drive without worrying about open programs or unsaved work.
3. Install M.2 SSD

Locate M.2 Slot On Motherboard:
Now it’s time for the physical installation. First, you’ll need to locate the M.2 slot on your motherboard. Motherboards typically have 1-2 M.2 slots, sometimes labeled on the board itself. The slots are narrow and have 1-2 gold contacts at the bottom.
Remove Standoff or Heat Sink:
Certain motherboards might come with a pre-installed standoff or heat sink in the M.2 slot, requiring removal. Usually fastened by a single screw accessible from the back of the motherboard, remove the screw and keep it in a secure place for future use.
Insert SSD At 30 Degree Angle:
With the M.2 slot clear, insert the SSD at a 30 degree angle so it lines up with the gold contacts. Gently push it straight down until it clicks firmly into place. The tops of some drives have a small notch to engage a lock on the motherboard as well.
Add Thermal Pads and Attach Heat Sink:
If your M.2 SSD came with thermal pads, line up the pads on the bottom between the contacts and SSD module. Then replace any removable heat sinks to their normal positions, securing with previously removed screws. Thermal solutions help keep SSD operating temperatures low for optimal performance and lifespan.
4. Configure BIOS

Check BIOS Settings and Enable M.2 Slot:
Now it’s time to configure the BIOS to recognize the new M.2 SSD. Restart your computer and enter the BIOS setup by pressing the designated key shown on screen, usually Delete, F2 or Esc.
Navigate to the ‘Storage’ or ‘Integrated Peripherals’ menu to view options related to your M.2 slot. In here you’ll want to ensure the M.2 slot is set to ‘Enabled’.
Some motherboards may have the slot disabled by default, so make sure this is switched on to allow your PC to detect the new SSD.
Set M.2 As Boot Device:
Next, we’ll set the M.2 SSD as the primary boot device so it loads your operating system instead of a slower drive. Go to the ‘Boot’ menu within BIOS. Here you’ll see your currently installed storage devices listed in order of boot priority.
Using the arrow keys, rearrange these so the new M.2 SSD is at the top of the list. This puts it first in line to attempt booting your system over any other drive. Save your settings once complete and restart – the faster SSD is now set as the default boot drive
5. Format and Transfer Data

Format M.2 Drive With Windows Disk Management:
Now that the drive is recognized by the system, we need to prepare it for use. Launch Windows Disk Management either through This PC or by searching its name. You should see your new M.2 SSD listed – it may say “Unallocated” at first. Right click and select “Format” to prepare it to accept files. Be sure to choose a simple file system like NTFS.
Install Software and Transfer Files:
Once formatted, you can begin transferring files and installing apps. For files, you can use the Windows Copy function by right clicking on a file/folder and selecting “Copy”, then do the same on the destination M.2 drive folder to “Paste”. You may also want to do a fresh install of certain programs onto the speedier M.2 drive versus your older boot drive to take advantage of faster load times.
Be sure any files/programs you move over are also removed from the old drive to avoid duplicate data wasting space. Properly formatting and migrating your files is the last major step before booting from your new drive!
6. Test Installation

Check M.2 SSD in Windows Explorer:
To confirm the correct installation of the M.2 SSD, open Windows Explorer and verify that the drive appears under “This PC” with its accurate storage size.
Run Benchmarking Test:
A useful final step is to benchmark the drive to confirm its performance matches expectations. You can use a basic benchmarking tool like CrystalDiskMark which tests sequential and random read/write speeds.
This allows you to verify the SSD is performing as it should and wasn’t negatively impacted during installation. Simply compare results to manufacturer specs or reviews online.
Tips For Installing M.2 SSD
1. Add Heatsink:

For optimal SSD longevity and reliability, I recommend adding a small heatsink if your motherboard doesn’t come with one pre-installed. This draws heat away from the M.2 module during prolonged intensive use. Even basic aluminum models offer noticeably better thermal performance.
2. Use Thermal Pads:
If applying your own thermal pads, a useful tip is to place pads on both sides of the SSD for direct contact with the heatsink above and M.2 slot bracket below. This ensures heat can dissipate efficiently both up and down through the layers. Peel back any pre-applied pads to do both sides for best results.
Keeping your SSD runs cool through basic heatsinking methods helps maximize its endurance over many years of data transfers and ensuring smooth performance.
Results of M.2 SSD Installation
You should now be ready to enjoy the rewards of faster load times by booting from your new M.2 SSD. From quicker application launches to snappier OS responsiveness, the performance upgrade over a standard HDD or SATA SSD is immediately noticeable.
To keep your SSD running efficiently long-term, I recommend running periodic health checks using tools like CrystalDiskInfo. It can monitor the drive’s power on hours and total bytes written to alert you if nearing estimated lifespan. Following best practices like recommended TRIM operations and avoiding overfilling the drive will ensure many years of dependable service.
FAQs
How do I install an M.2 SSD in my computer?
To install an M.2 SSD, insert it into the compatible slot on your motherboard. Secure any screws, validate installation in Windows Explorer.
How do I connect my SSD to my M.2?
Connect the M.2 SSD to the motherboard’s M.2 slot securely. Secure with screws if required; ensure proper alignment.
Is my motherboard compatible with M.2 SSDs?
Check your motherboard’s specifications; if it has an M.2 slot, it’s compatible with M.2 SSDs. Refer to the manual or manufacturer’s website for confirmation.
What M.2 form factor size does my SSD have?
Check the SSD label or documentation for the M.2 form factor. Common sizes include 2230, 2242, or 2280.
Will installing an M.2 SSD improve system performance?
Yes, an M.2 SSD can significantly improve system performance. It offers faster data access and reduced boot times.
How can I ensure the system recognizes the M.2 SSD’s storage size?
Confirm recognition by checking “This PC” in Windows Explorer after installation. Ensure correct storage size is displayed for the M.2 SSD.
Do I need to install specific drivers for the M.2 SSD?
Usually, no. Modern operating systems often have built-in drivers for M.2 SSDs.
Where do I find and store the screws during installation?
Retrieve screws from SSD packaging. Store securely for later use.
Do I need to remove the pre-installed standoff or heat sink?
Check your motherboard’s manual; remove if necessary for M.2 installation. Typically secured by a single screw; store it for later use.